Value

See highlights and high-quality resources for advanced investigations.

Value (an element of visual art and design) is the degree of lightness and darkness in a color (or white to black).   The difference in values is called contrast. ...can relate to shades ...adding black or tints...adding white... — Value defined by WikiPedia

Value at oogle Arts & Culture

Introduction

  • Value is an Element of Art & Design

Value Scale

  • Spectrum of Solid/Blended Values

Key Values

  • Value Scale Lightness or Darkness

Stippling

  • Dots to Create Value & Texture

Blending

  • Lines to Create Smooth Values

Contour

  • Curves to Create Value & Texture

Cross Contour

  • Curves to Create Value & Texture

Contour Drawing

  • Contour Curves to Create Outlines

Identify & Practice

  • Line Techniques Example

Value Scale

Value Scale - Art Vocab Definition (0:17):  Philinthecircle

The scale in the video shows a full spectrum of solid and blended values from 0 - 10 with 0 being solid black.

IMPORTANT: In this class, white is considered the lightest value (0) and black is the darkest (9), which is the limit for the type of graphite pencil required.   (Ebony or 7 - 9B).   The middle value between these extremes is also known as a half-tone, all of which can be found on a value scale in the image below.

EP_Value-Scale_1920x524

Key Values

"Key" Values (0:20)

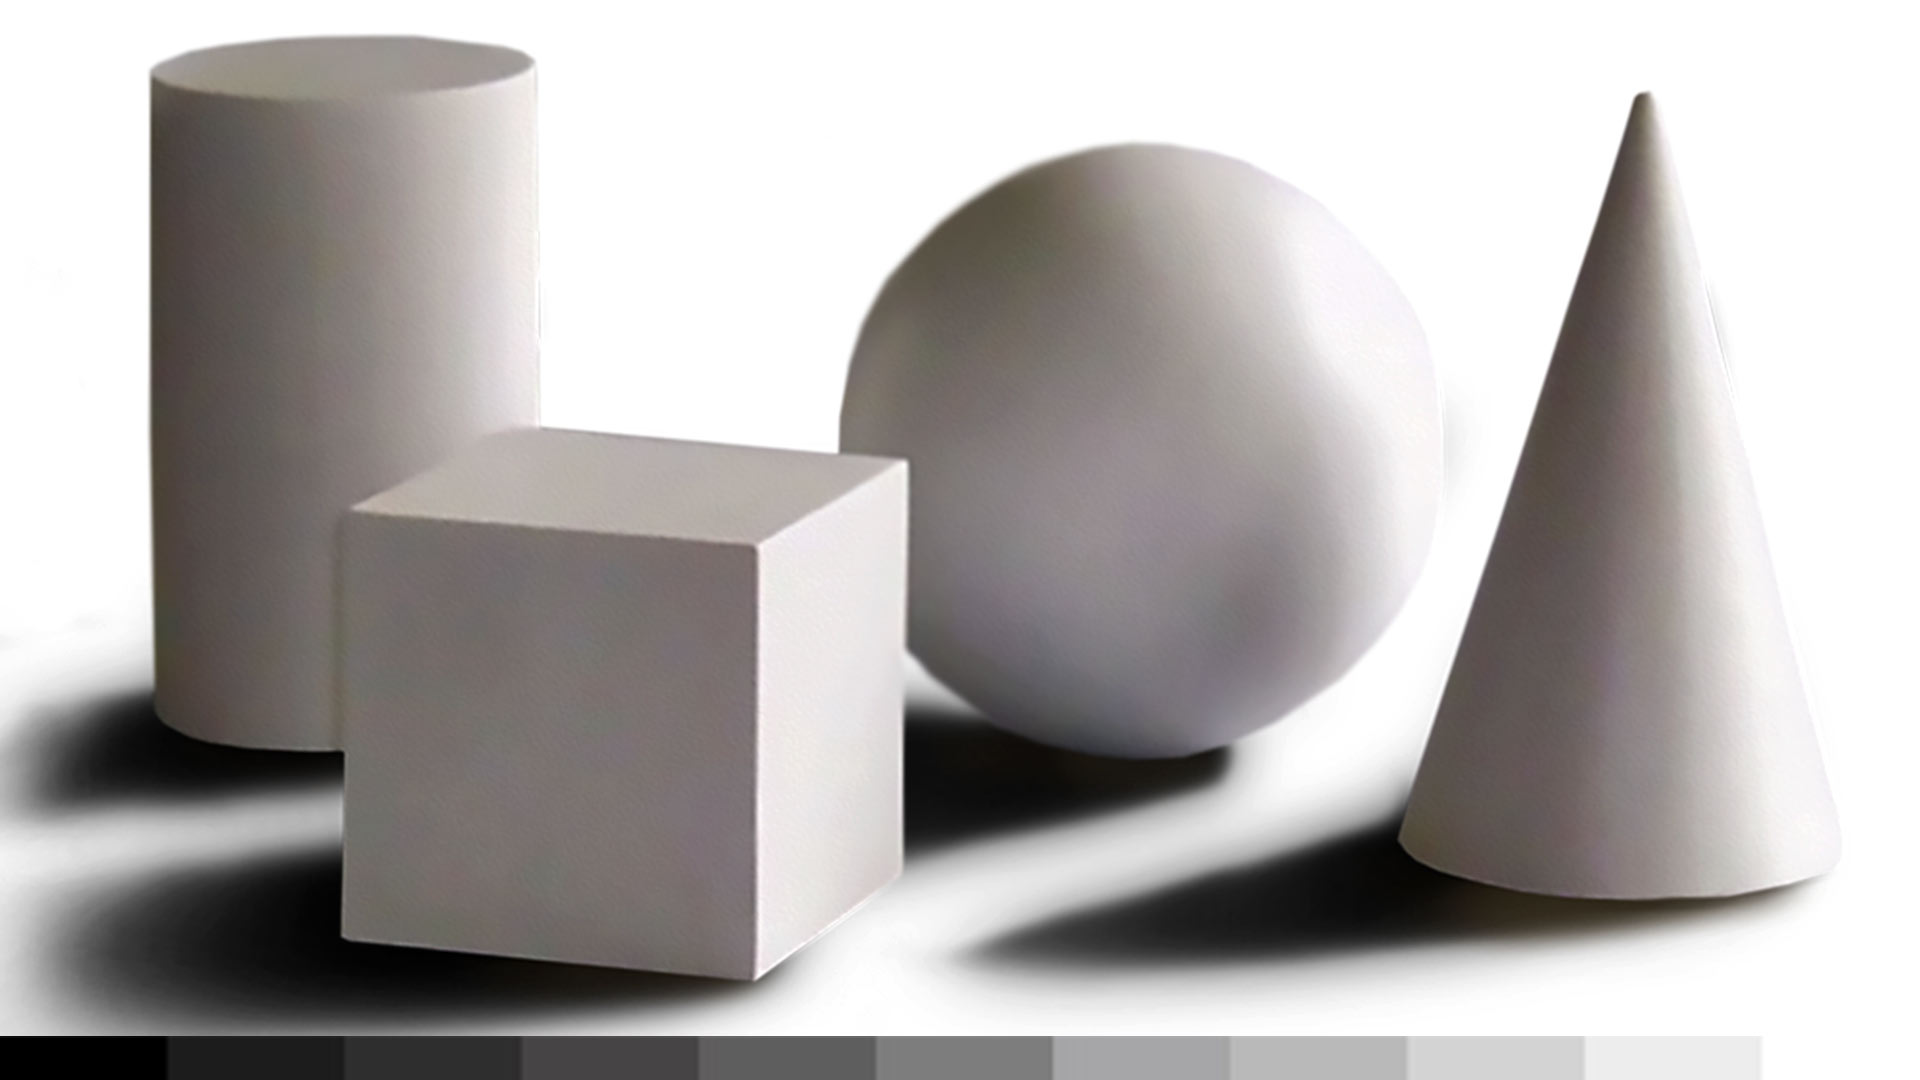
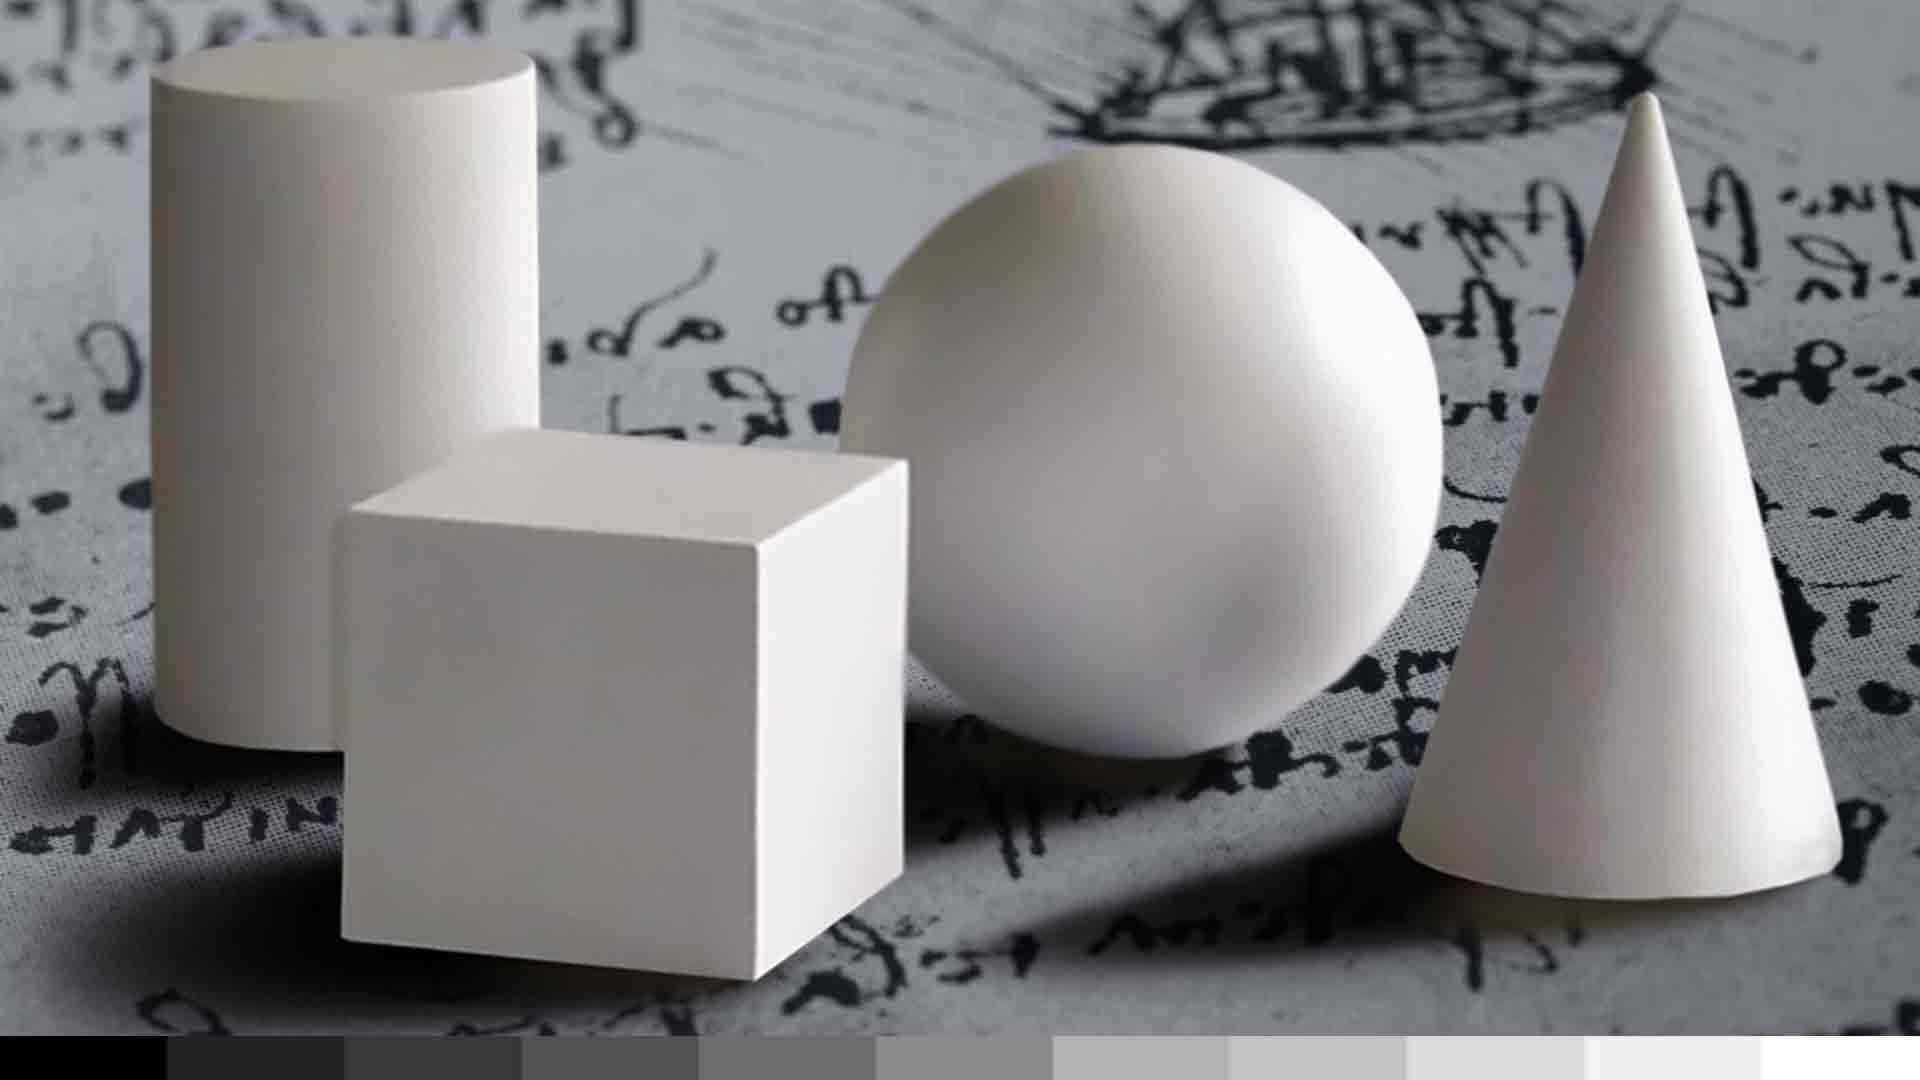
refers to the lightness or darkness on a value scale.   High-Key values are very light and low-key are very dark. Avoid the first three key examples below (high, middle or low)! If your goal is to draw more realistic, a * Full Value Spectrum is ideal.
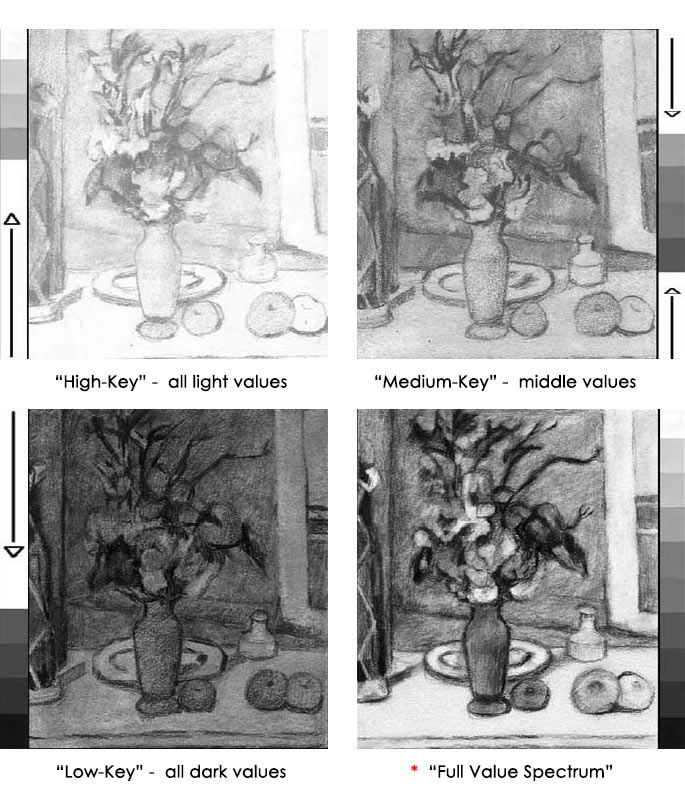
Value_Still-Life-Comparisons
Low Contrast

Low Contrast (0:16) (high-key and low-key) is when there is a small difference between the light and dark areas in an artwork. (Avoid this!)

High Contrast

*High Contrast (0:20) is when there is a large difference between the light and dark areas in an artwork. *(Ideal and balanced!!)
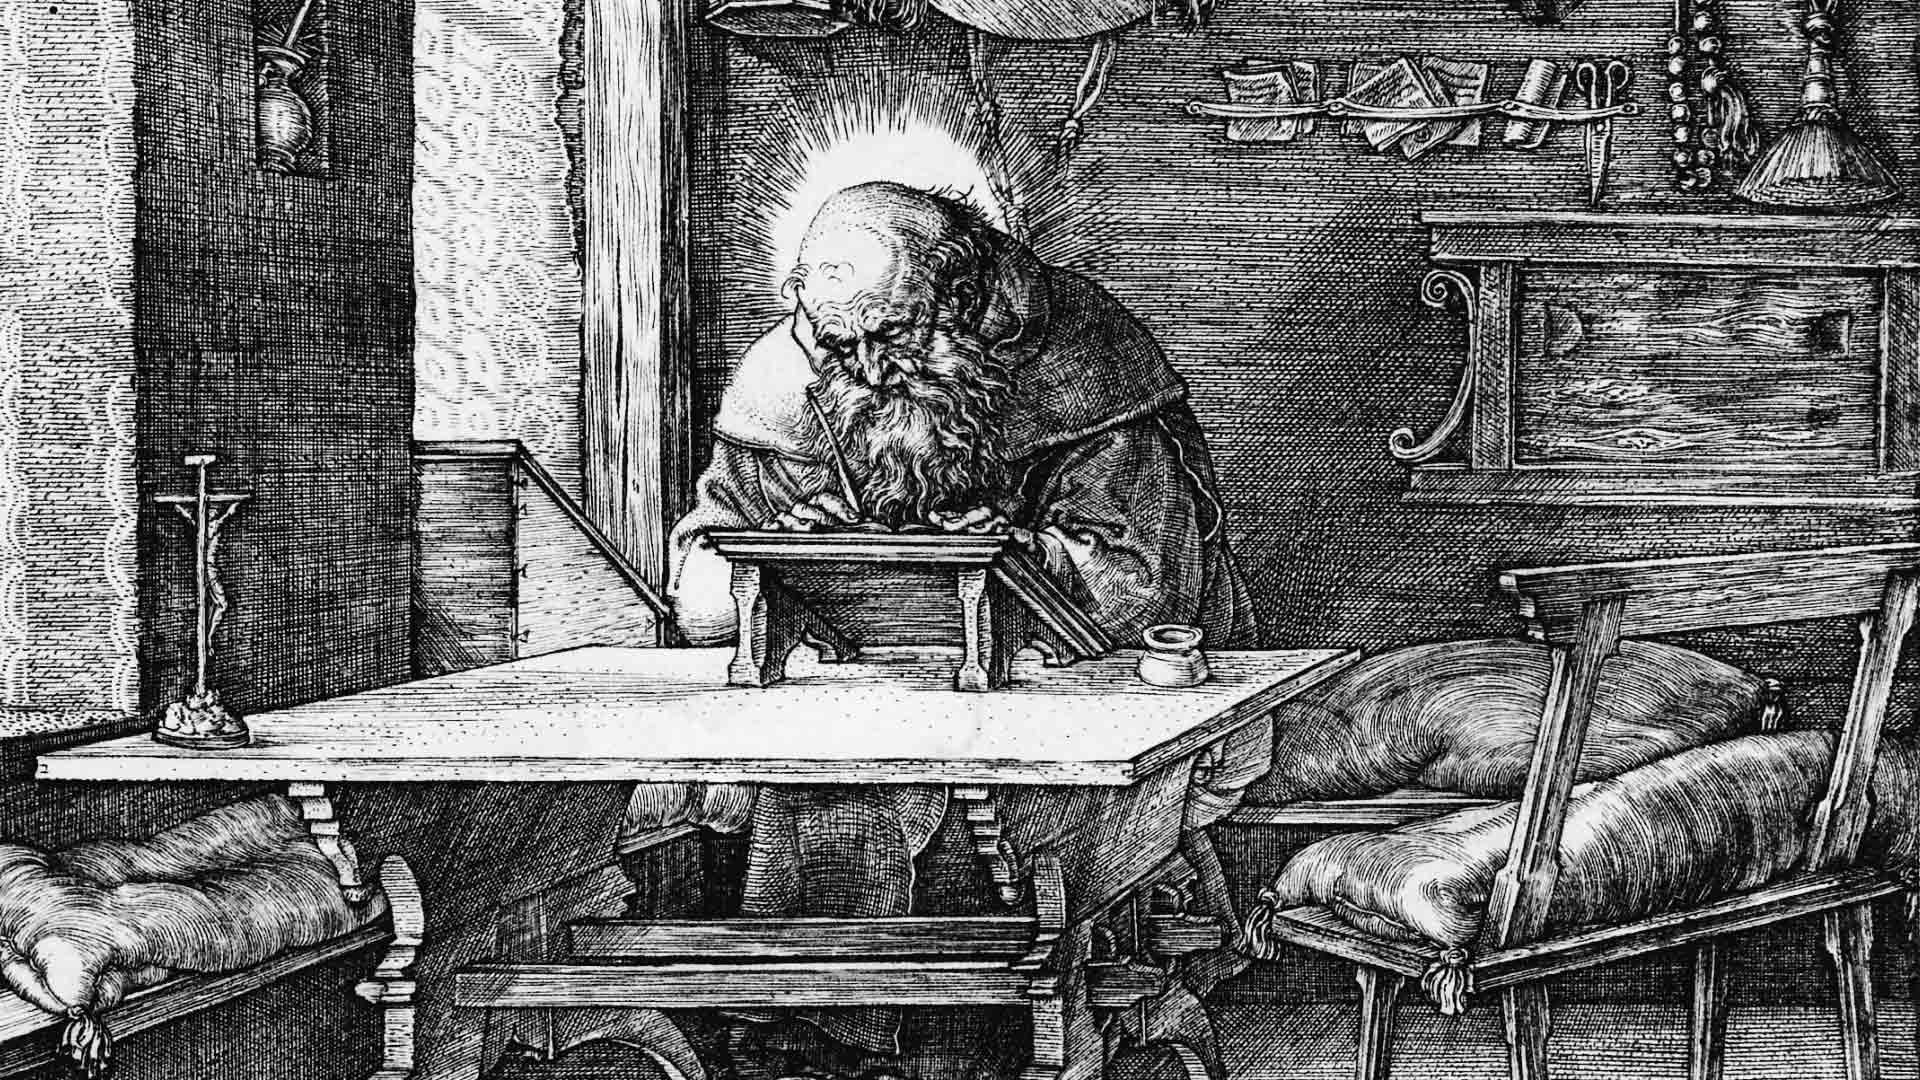
Saint Jerome in His Study, engraving detail, c.1514, by Albrecht Durer, at the Metropolitan Museum of Art, New York, USA. (CC0 1.0)

Value
Line & Texture

Hatching Crosshatching Stippling Blending

are four of the most common line techniques used to create value and the "illusion" of space and texture on a form in a drawing and they can be applied with all drawing mediums. We begin with Hatching by Philinthecircle.

Hatching

WikiPedia Hatching (hachure in French) is an artistic technique used to create tonal or shading effects by drawing (or scribing) closely spaced parallel lines. (0:15)

Cross-hatching

WikiPedia Crosshatching at its simplest, a layer of linear hatching is laid over another layer at a 90° angle, to which further diagonal layers may be added. (0:15)

Stippling

Stippling defined by WikiPedia Stippling is the creation of a pattern simulating varying degrees of solidity or shading by using small dots.   Such a pattern may occur in nature. (0:20)

Blending

Blending defined by WikiPedia Blending is to combine or associate so that the separate constituents or the line of demarcation cannot be distinguished. (5:55)

Geometric Forms

Value & Form

Form: another element in visual design and in this context is described as any three-dimensional object...defined by lights and darks... by the presence of shadows on surfaces or faces of an object...enhanced by tone, texture or color. — WikiPedia

Shading with hatching, crosshatching, stippling and contour lines or especially by smooth blending, creates the appearance of three-dimensional objects on a two-dimensional surface.   The first step is to "set a ground" as seen in the interactive image and video demonstration below: — WikiPedia

Elements and Principles of Design Shape, Value, Form, and Perspective, Cylinder, Cube, Sphere, Cone

From a PC, hover your cursor over the image below to see the spacial difference "setting a ground" (and shadows) make in order to create the illusion of 3-D space on a 2-D surface!


Setting a Ground

Setting A Ground (10:20) This technique enhances shading and shadows better than beginning with a blank white page.   Instead of starting with an entire sheet at one end of the brightness spectrum, we attempt to start in the middle.   This reduces the tendency to produce a final drawing that is unrealistically bright or washed out.  —Mr. Hen


Step 1:"Set" or create a "ground" (background) by shading and blending an area of solid gray (1, 2, or 3 on the value scale) or varying tones if needed (values 1 to 5).   These tones should correlate with the direction of the light source; one side being darker than the other. Next: Observe the sphere and lighting terms

Shape, Form, Value, Light on a Sphere

Light & Shading

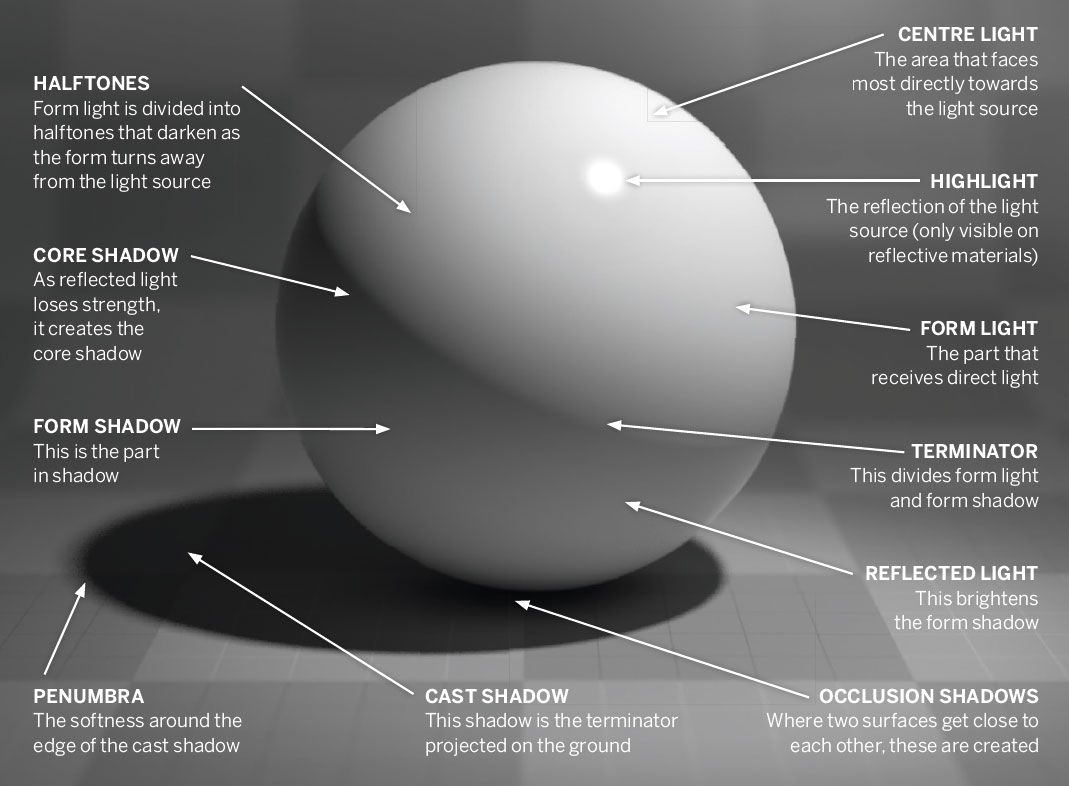
Step 2: Set Up One Strong Light Source. (See the terms defined in the videos and image below.)

Highlights, Transitional Light (Center Light and Varying Tones), Core Shadow, Reflected Light, Cast Shadows and Oclusion Shadows give an object a 3-D look on a 2-D surface.
On the assignment example you will also see the cast shadow divided into the umbra, penumbra, and antumbrambra.


Highlight

Highlight refers to the area of an object where the light source shines directly.   They are usually white and determine where the shadows belong on a form. (0:22)

Core Shadow

Core Shadow is just past the terminator and is the darkest part of the shadow on the form.   It is more apparent if there is a second light present. (0:23)

Reflected Light

Reflected Light is the light reflected onto an object by other objects rather than the direct source light.   It plays a major role in realistic drawings. (0:26)

Cast Shadow

Cast Shadows are the shadows of a form cast onto a surface.   If you are standing outside on a sunny day, you will cast a shadow onto the ground. (0:19)


Draw & Shade
Basic Forms

Video Above: How to Shade Basic Forms - Pencil Tutorial

Shading is the process of adding to value to a drawing.   When we get the values right, the illusion of form and light are communicated in the drawing.   By learning how to draw basic forms, we can be more successful when drawing more complex subjects.   This exercise is completed on bristol paper, but any drawing paper will result in similar results.   The Virtual Instructor (9:21)


Step 3: Follow the video demonstration and draw the forms:

sphere (at 0:00)  │  cube (at 2:40)  │  cylinder * (at 5:43)  │  cone * (at 7:10)

*For cylinders and cones, see the additional video:
How to Draw an Ellipse

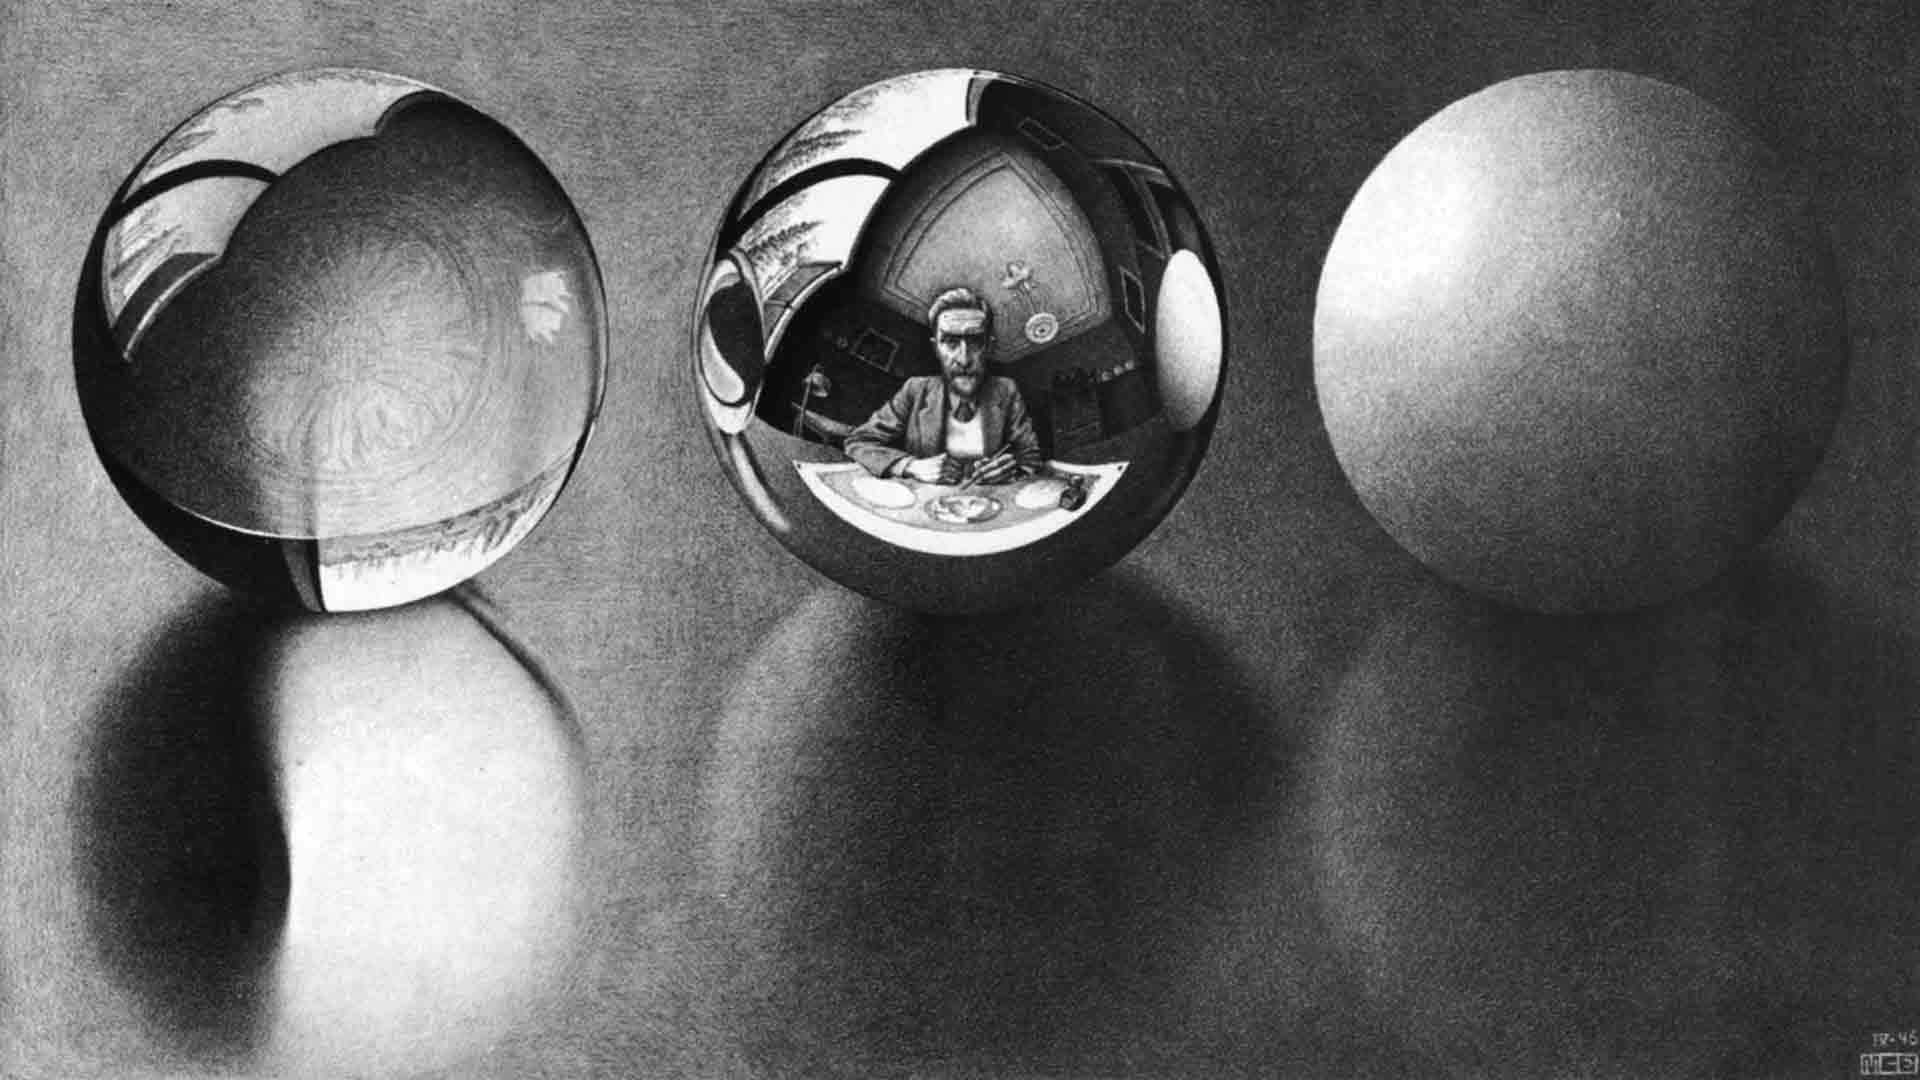
M. C. Escher's Three Spheres II at https://www.wikiart.org/en/m-c-escher (CC0 1.0)

Identify Values

Three Spheres II, Lithograph, 1946, by M.C. Escher at the National Gallery of Art.   The sphere in the center is reflective.   Its reflection is a self-replicating image of Escher in his studio drawing the three spheres.   In the reflection one can clearly see the image of the three spheres on the paper Escher is drawing on: in the center sphere of that image, one can vaguely make out the reflection of Escher's studio, which is depicted in the main image.   This process is implied to be infinite, recursive... Wikipedia


ARTIST'S WEBSITE   GALLERY   BIO


Vue Fine Art & Design Youtube Cover & Detail of Lyons Cathedral in France

Resources
Linked Info, Audio, Visual +

Below, is a small sample of information links coordinated with video playlists.   Each link and video thumbnail takes you to the category on the Resource page.   Once there, activate the links.   Resources

Creative Commons Public Domain
0 1.0 Universal 0 1.0) License


Materials
Art Supplies +


Development & Maintenance
Shelly Solberg

© Vue Fine Art & Design